Sunday, November 24, 2013

Dollhouse: Let there be LIGHT!


 Well, I watched a fantastic tutorial by Garden of Imagination on YouTube, and got the idea to stylize my own light fixtures for the cottage. It was a very fussy project, and I've only just made the one, but am thrilled with the way it turned out. Above, you can see the 12v incandescent bulb I purchased from HobbyTown USA, in their train section (a set of six). Above it is a jewelry finding, spread open a little, and then all the pins, after beading, were bent through the loops in the bead cap. I also put some longer ones in the center to cover the bulb better. I then soldered the lights to an extension plug so that I could plug it in at the electrical strip made specifically for dollhouse wiring. Yes, it takes a lot, and bumps the amount of money you spend on the project, but to me, it brings so much life to the interior, and there is nothing like seeing those windows glow from the front of the house!


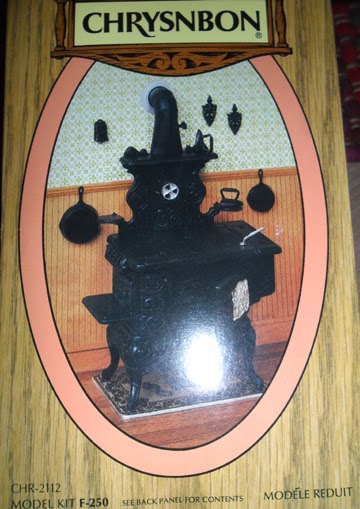
In these photos, you can also see the wainscotting is up, and the chair rail, and everything has been aged. I glued a victorian style fabric to the walls and then aged them in all the corners, and it ended up giving it the perfect atmosphere. I haven't finished the chair rail on the right due to the fireplace surround needing construction before I know where that piece of trim will fall. There will also be trim around the ceiling and baseboards, and a hardwood floor installed. There will be another light on the left hand side as well, but will look differently as this is more of a 'kitchen' area, and I need it to be brighter there.


The big hole on the left is the opening for the bay window.


And then I discovered the thrill of finding minis for sale on Etsy! These were purchased by Green Gypsies- what witch's cottage would be complete without a set of Harry Potter books??? I also have plans to include many of the books that I loved over the years, but may try my hand at making a few of my own. 


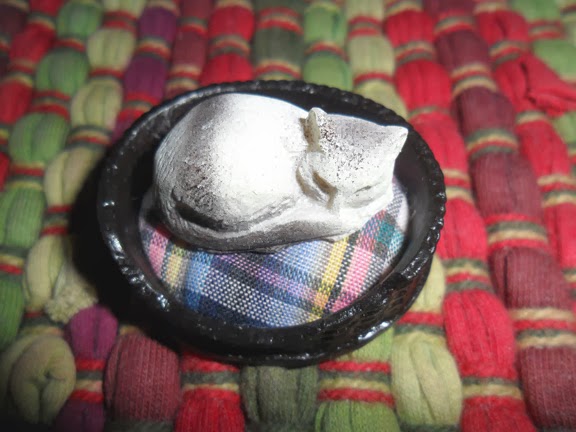
The Tarot cards she sent me are perfect! So small and delicate, and exact in detail and scale. These will look wonderful next to the crystal ball I will be making! Below is a Sheep and Willow rug that just drew me in-- it may go in the kitchen area. 


And for a final update on the house as a whole, below I have shown how the 'copper' window pediments have been aged for copper patina. It looks better in real life, the green sort of washed out here. You can also see the aging of the exterior in this picture. After getting the lights in place, I'll be working on the flooring and getting the roof on. I will, of course, keep it posted! I hope you enjoy this process...I know there was nothing like the feeling of seeing that little light come on through the windows of the house.


Tuesday, November 12, 2013

My Cottage Project: The Orchid Dollhouse


Above is my new workspace in the corner of my bedroom. I made the table, and then have been working on the shown dollhouse for about two months now, in between everything else. It comes from the Greenleaf Collection, called The Orchid. It's a Victorian-style, two level, four room house. Very cozy, and perfect to dress as a witch's cottage. Below are the panels thus far, set out the way they will go together once assembled. 
Flipping the gable and dormer window panels over, you can see the distressed finish that I will be applying to the entire upstairs bedroom/bathroom area. I glue paper down, then after it bubbles but is still a little not dry, I tear it off, then paint it, then distress it. I've put an aged shading around the windows for greater 'old' effect.


Above are some little polymer clay items I made after watching demos on youTube, to make bread, sliced and braided and large round loaves, an apple and a skull in the background. I'll post these again after I've painted them. 


The stove above will be in the bedroom for heat, though there will be a fireplace on the bottom floor in the living area. The rocking chair will probably go downstairs. Below is the antique kitchen stove and accessories that I will be assembling for the kitchen. 


Lastly, the little kitty in a basket that I found. I will be re-painting her before long. 


I am LOVING this process, even though it is an exercise in tedium. I am faithfully sanding all of the edges before painting them, and also sealing the woodwork with a satin finish to help it stand out. I will be aging the outside of the house, also, and adding a stack stone chimney for the fireplace. 

So much to do... so happy to do it! :)


Monday, November 11, 2013

Up To Something

Yes, the Tiny Blue Mouse has been busy, though you wouldn't know it to look at her blog.

But I promise you, (dear Readers, with a high number coming from Poland, and welcome!) I will post soon some of the goodies I have been working on, including the final piece to the menagerie I'm sending to my cousin surrounding the mermaid. I'm thinking of creating one for my niece in Kansas, too, and so may-- just may-- be able to take notes as I make it to develop a sort of pattern? No promises there. My free-form crochet really does change with every row added, but I see people wanting patterns for certain things, and if someone would want to make a mermaid out of crochet, this is a good one to make! It will be fun to create another one anyway, learning from the mistakes of the first.

Happy Crafting to you all, I hope everyone in the northern hemisphere is enjoying the weather! :-)